Why You’ll Love this Margarita Tacos Recipe
If you’re looking for a unique dessert that combines the invigorating flavors of a margarita with the delightful texture of a tart, you’ll absolutely love this Margarita Tacos Tart recipe.
The exhilarating citrus notes and creamy filling create a perfect balance, making it an irresistible treat. I adore how it’s both sophisticated and fun, ideal for gatherings or a cozy night in.
Plus, it’s surprisingly easy to make, so I never feel overwhelmed in the kitchen. Trust me, once you take a bite, you’ll be hooked on this flavor explosion that’s perfect for any occasion!
Ingredients of Margarita Tacos
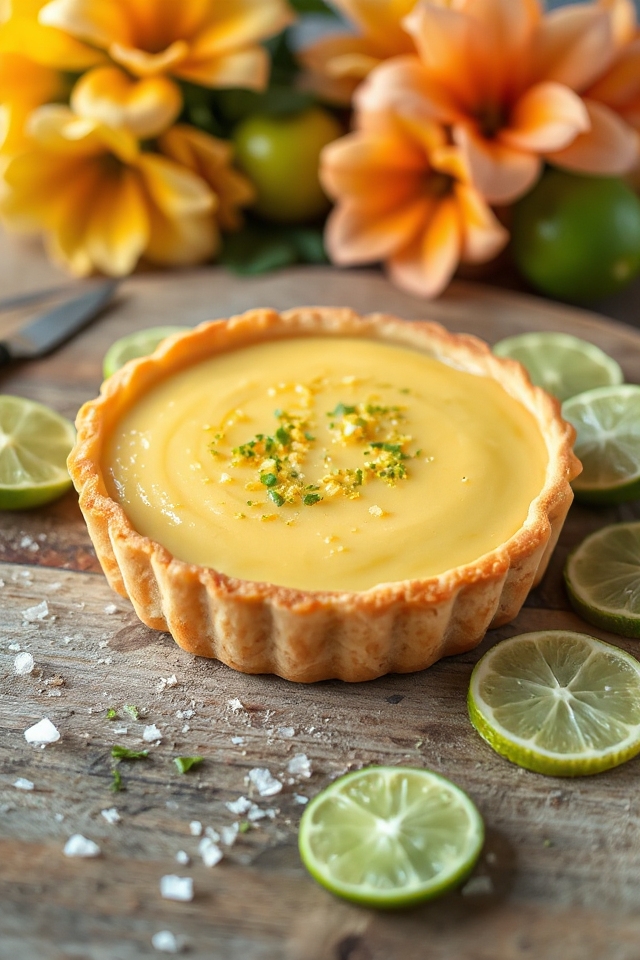
When it comes to whipping up a delightful dessert that ticks all the boxes for flavor and creativity, the Margarita Tacos Tart is a showstopper. Envision this: a buttery, flaky tart shell filled with a creamy, zesty margarita-flavored filling that practically dances on your taste buds. It’s the kind of treat that could brighten up even the gloomiest of days, and trust me, once you try it, you may find yourself making it again and again.
So, let’s plunge into the ingredients you’ll need to bring this delicious creation to life!
Here’s what you’ll need:
- 1 1/4 cups all-purpose flour
- 3/4 teaspoon salt
- 1/4 cup granulated sugar
- 4 tablespoons shortening, chilled
- 4 tablespoons butter, frozen and cut into tablespoon pieces
- 1 large egg yolk
- 2 tablespoons cold water
- 1 (14 ounce) can sweetened condensed milk
- 3/4 cup margarita mix
- 4 large egg yolks
Now, while gathering these ingredients, keep in mind that using cold butter and chilled shortening is key to achieving that perfect flaky texture in your tart shell. It’s like the secret handshake of pastry making.
And if you can’t find margarita mix, don’t fret! You can always make your own by mixing lime juice, orange juice, and a bit of sugar. Just remember, the goal is to capture that vibrant, citrusy flavor that makes margaritas so invigorating.
How to Make Margarita Tacos
Alright, let’s plunge into making this delightful Margarita Tacos Tart. First off, you’ll want to whip up that buttery, flaky tart shell. Grab 1 1/4 cups of all-purpose flour and toss it into your food processor along with 3/4 teaspoon of salt and a 1/4 cup of granulated sugar. Give it a quick pulse to combine everything.
Now, here’s where the magic happens: add in 4 tablespoons of chilled shortening and 4 tablespoons of frozen butter (cut into tablespoon pieces). Blend this together until it looks like sandy crumbs—about 8 to 10 long pulses should do the trick. It’s like a mini workout for your food processor, and if it sounds like a blender on a sugar rush, you’re probably doing it right.
Once your mixture is all crumbly, whisk together 1 large egg yolk and 2 tablespoons of cold water in a small bowl. Pour this into your flour mixture and stir using a spatula until it comes together into a dough. Don’t worry if it looks a little messy; that’s all part of the process.
Wrap it in plastic wrap and pop it in the fridge for about half an hour. This is also a good time to pour yourself a little margarita if you’re into multitasking. After chilling, roll out the dough between two pieces of plastic wrap or press it into a 9-inch tart pan. Make sure the edges aren’t too thin—nobody wants a sad, soggy bottom.
After that, freeze the shell for another half hour while you preheat your oven to 375°F.
Now, onto baking the tart shell. Once it’s frozen solid, line it with aluminum foil (make sure to press it in snugly) and fill it with pie weights, dry beans, or even rice if you’re feeling adventurous. Bake it for 10 minutes, rotate, and bake for another 10 minutes, then remove the weights and foil and give it another 10-minute bake.
Meanwhile, prepare for the tart filling: whisk together 4 large egg yolks, 1 (14-ounce) can of sweetened condensed milk, and 3/4 cup of margarita mix in a large bowl. After the tart shell is out of the oven and slightly cooled, pour in that luscious filling and turn the oven down to 350°F.
Bake it for another 15 minutes, then let it cool completely before serving. It’s like a zesty little vacation for your taste buds, and trust me, once you taste it, you’ll be planning your next tart-making adventure in no time.
Margarita Tacos Substitutions & Variations
While making Margarita Tacos Tart, you might want to get creative with substitutions and variations to suit your taste or dietary needs.
For a gluten-free option, try using almond flour or a gluten-free blend instead of all-purpose flour. If you’re looking for a dairy-free alternative, coconut cream can replace sweetened condensed milk.
You could also swap out the margarita mix with lime juice and a splash of agave for a fresh twist.
Want to change the flavor? Consider adding a hint of orange zest or lime zest to the filling for an extra citrus kick.
Enjoy experimenting!
What to Serve with Margarita Tacos
To enhance your Margarita Tacos experience, consider pairing them with invigorating sides that complement their vibrant flavors.
I love serving fresh guacamole and crispy tortilla chips to add a creamy and crunchy texture. A zesty corn salad with lime and cilantro brings a revitalizing contrast, while a side of black beans adds heartiness.
Don’t forget a tangy pico de gallo for that extra kick! For beverages, a chilled margarita or a light cerveza perfectly balances the meal.
These sides not only elevate the tacos but also create a delightful and festive atmosphere at your table. Enjoy every bite!
Additional Tips & Notes
When preparing your Margarita Tacos, keep in mind a few helpful tips to elevate your dish.
First, use chilled ingredients for the tart shell, as this helps create a flaky texture.
I also recommend letting the tart filling cool before serving; it enhances the flavors.
If you like a stronger margarita taste, feel free to add a splash more margarita mix.
For extra sweetness, garnish the tart with lime zest or fresh fruit.
Finally, make sure to store leftovers in the fridge to keep them fresh.
Enjoy your delightful creation, and don’t hesitate to share with friends!